Demo with Gradio#
This notebook demonstrates the gradio library, which allows you to create demo interfaces very easily.
Object Detection Interface#
For this example, we use an object detection model trained on the 80 classes of the COCO dataset. We use Meta’s DETR model (facebook/detr-resnet-50).
Implementation#
First, let’s build our pipeline using Hugging Face’s transformers library.
from PIL import Image
import matplotlib.pyplot as plt
from transformers import pipeline
import cv2
import numpy as np
/home/aquilae/anaconda3/envs/dev/lib/python3.11/site-packages/tqdm/auto.py:21: TqdmWarning: IProgress not found. Please update jupyter and ipywidgets. See https://ipywidgets.readthedocs.io/en/stable/user_install.html
  from .autonotebook import tqdm as notebook_tqdm
detector = pipeline("object-detection", "facebook/detr-resnet-50")
Some weights of the model checkpoint at facebook/detr-resnet-50 were not used when initializing DetrForObjectDetection: ['model.backbone.conv_encoder.model.layer1.0.downsample.1.num_batches_tracked', 'model.backbone.conv_encoder.model.layer2.0.downsample.1.num_batches_tracked', 'model.backbone.conv_encoder.model.layer3.0.downsample.1.num_batches_tracked', 'model.backbone.conv_encoder.model.layer4.0.downsample.1.num_batches_tracked']
- This IS expected if you are initializing DetrForObjectDetection from the checkpoint of a model trained on another task or with another architecture (e.g. initializing a BertForSequenceClassification model from a BertForPreTraining model).
- This IS NOT expected if you are initializing DetrForObjectDetection from the checkpoint of a model that you expect to be exactly identical (initializing a BertForSequenceClassification model from a BertForSequenceClassification model).
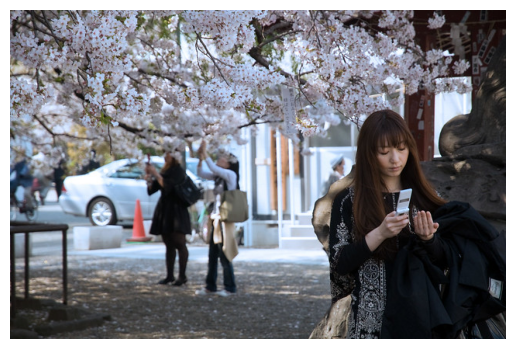
image = Image.open('images/coco3.jpg')
plt.imshow(image)
plt.axis('off')
plt.show()
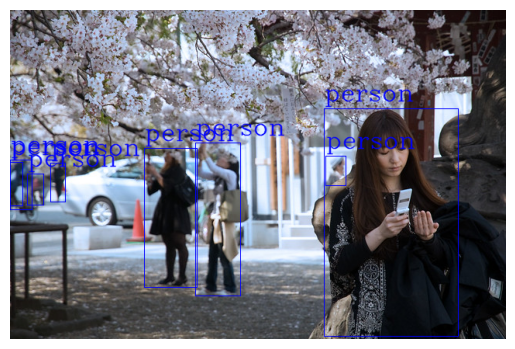
Let’s proceed with the detection and draw the boxes. For a clear result, we will only outline people. You can remove this filter if you wish.
def draw_boxes(image,output):
  cv_image = np.array(image)
  for bbox in output:
    box = bbox['box']
    label = bbox['label']
    if (label!="person"):
      continue
    cv2.rectangle(cv_image, (box['xmin'], box['ymin']), (box['xmax'], box['ymax']), (0, 0, 255), 1)
    cv2.putText(cv_image, label, (box['xmin'], box['ymin'] - 10), cv2.FONT_HERSHEY_COMPLEX, 1, (0, 0, 255), 1, cv2.LINE_AA)
  return cv_image

output = detector(image)
cv_image=draw_boxes(image,output)
plt.imshow(cv_image)
plt.axis('off')
plt.show()
Gradio Demo#
Now it’s time to build our demo with Gradio. The idea is to have an interface that takes an image as input and returns the same image with people outlined.
import gradio as gr
def get_pipeline_prediction(pil_image):
  pipeline_output = detector(pil_image)
  processed_image = draw_boxes(pil_image,pipeline_output)
  return processed_image
demo = gr.Interface(
  fn=get_pipeline_prediction,
  inputs=gr.Image(label="Image d'entrée",type="pil"),
  outputs=gr.Image(label="Image avec les personnes détectées",type="pil")
)
IMPORTANT: You are using gradio version 4.24.0, however version 4.29.0 is available, please upgrade.
--------
demo.launch()
Running on local URL:  http://127.0.0.1:7860

To create a public link, set `share=True` in `launch()`.
And there you have it, you’ve built your own demo. You can share it by setting the share=True parameter in the launch() method. However, you’ll need to keep your notebook active, otherwise the demo will disappear. To create a demo that doesn’t require you to keep your PC on, you can create a space on the Hugging Face website (see notebook 1).
Note: Of course, Gradio has more features than this. I invite you to consult the documentation and the various tutorials if you have a specific need.