使用 Diffusers 生成图像#
在本笔记中,我们将学习如何使用 Hugging Face 的 Diffusers 库来操作扩散模型。由于这些模型计算资源需求较大,我们将通过一个轻量级模型的小示例进行演示。
实现步骤#
我们使用 OFA-Sys 的 small-stable-diffusion 模型(模型标识:OFA-Sys/small-stable-diffusion-v0)。
from diffusers import DiffusionPipeline

diffuser = DiffusionPipeline.from_pretrained("OFA-Sys/small-stable-diffusion-v0") #"stabilityai/sdxl-turbo"
vae/diffusion_pytorch_model.safetensors not found
Loading pipeline components...:  29%|██▊       | 2/7 [00:01<00:03,  1.48it/s]The config attributes {'predict_epsilon': True} were passed to DPMSolverMultistepScheduler, but are not expected and will be ignored. Please verify your scheduler_config.json configuration file.
Loading pipeline components...: 100%|██████████| 7/7 [00:01<00:00,  4.05it/s]
生成过程可能需要数分钟,具体时间取决于您的计算机性能。
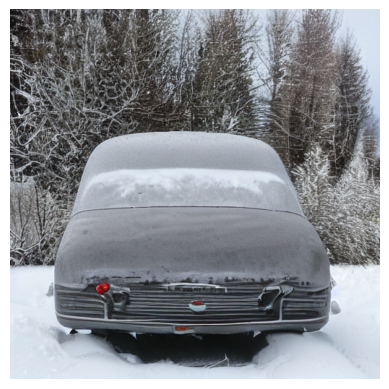
outputAutre=diffuser("A car in the winter")
100%|██████████| 50/50 [03:01<00:00, 3.63s/it]
import matplotlib.pyplot as plt
print(outputAutre.images[0])
plt.imshow(outputAutre.images[0])
plt.axis("off")
plt.show()
<PIL.Image.Image image mode=RGB size=512x512 at 0x733D54E7F210>
现在,您已经学会如何使用 Hugging Face 的 Diffusers 库生成图像。
进阶学习: 如果您希望深入了解扩散模型的应用场景,推荐免费课程 《视觉模型的提示词工程》(deeplearning.ai 平台)。课程将介绍如何结合 SAM(Segment Anything Model) 和扩散模型,实现图像中物体的替换操作。